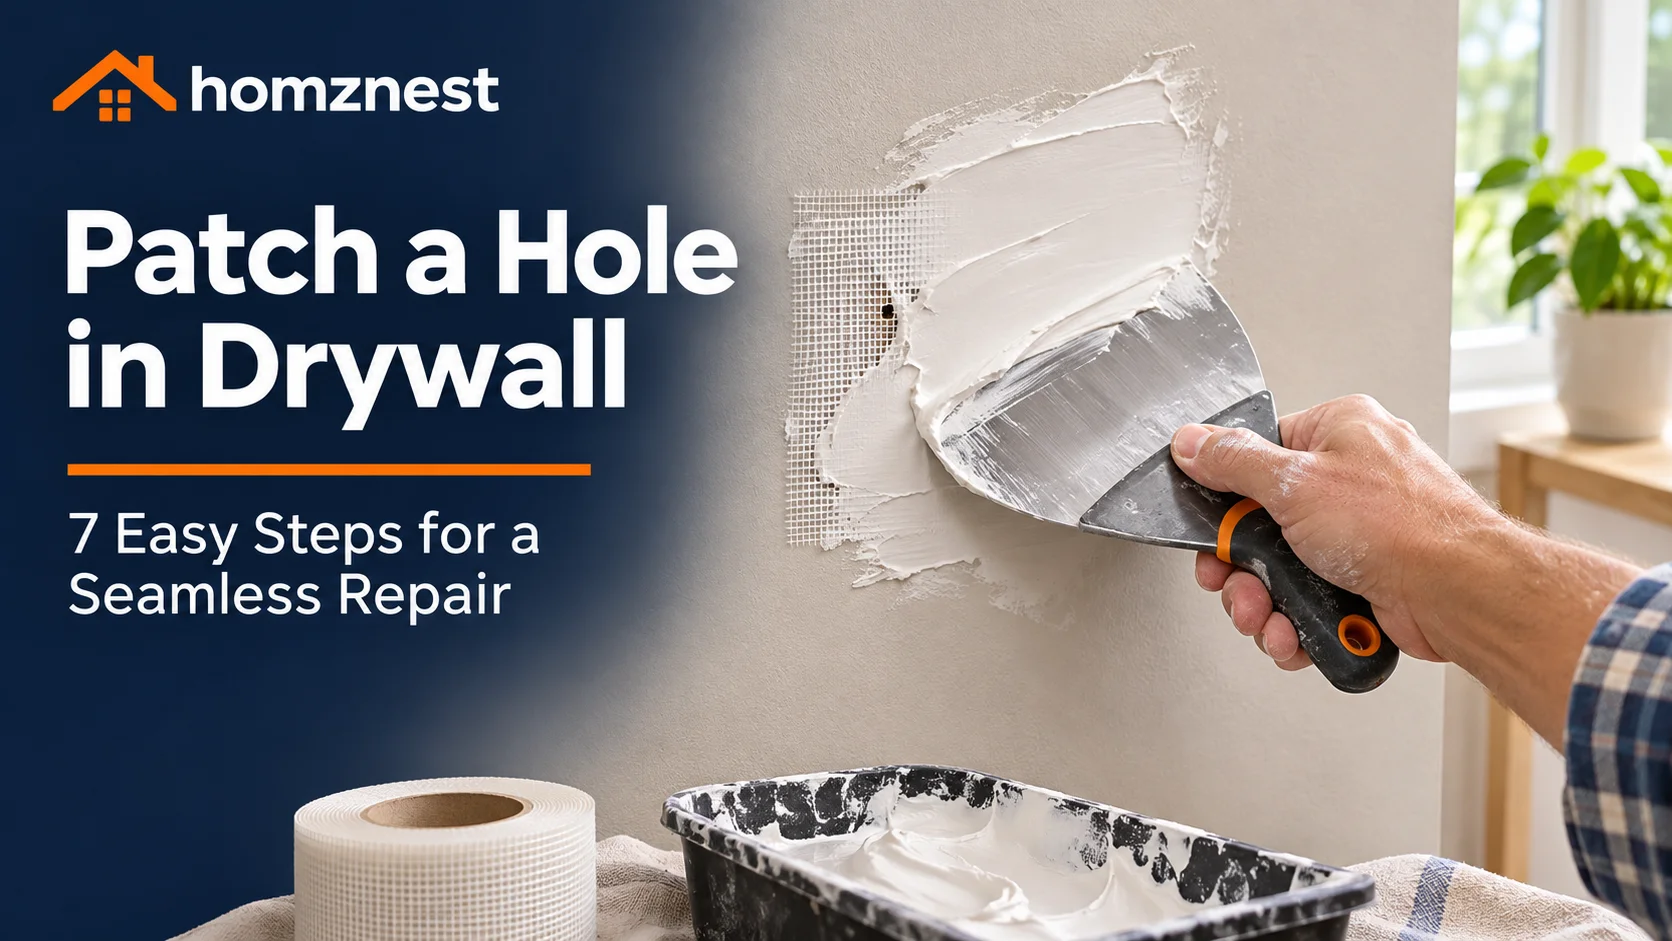
You can patch a hole in drywall in a single afternoon, and you don’t need professional skills to get a smooth, invisible result. Whether a doorknob punched through the wall, a TV mount left ugly gaps, or a leaking pipe damaged a panel, the repair costs less than a restaurant lunch and needs only basic tools. In this guide, you’ll learn exactly how to patch a hole in drywall, from tiny nail holes to fist-sized damage, so the wall looks untouched once it’s painted.
Why You Should Patch a Hole in Drywall Right Away
Leaving damage untouched invites bigger problems. Dust and moisture enter through the opening, pests can nest inside the wall cavity, and the area around the hole keeps crumbling every time someone touches it. When you patch a hole in drywall quickly, you stop the damage from spreading and keep the repair small and cheap. A clean fix also protects sound insulation and fire resistance, since gypsum board is designed to slow the spread of flames. In short, it takes far less effort to patch a hole in drywall today than to replace a whole damaged panel next year.
Tools and Materials You Need to Patch a Hole in Drywall
Gather everything before you start, because joint compound begins to set while you hunt for a missing tool. Most items are inexpensive and reusable for future wall repairs.
- Putty knives: a 4-inch knife for filling and a 10- or 12-inch knife for feathering the edges.
- Lightweight spackle or all-purpose joint compound: spackle suits small holes, while joint compound is better for larger patches.
- Self-adhesive mesh patch or drywall patch kit: ideal for holes up to about 6 inches wide.
- Drywall scrap and 1×3 wood strips: needed for large holes that require a backing.
- Utility knife and drywall saw: to trim ragged edges and cut a clean opening.
- Fine-grit sanding sponge (120 to 220 grit): for a smooth finish without gouging the paper.
- Primer and matching paint: to seal the repair and blend it with the rest of the wall.
- Dust mask, safety glasses and a damp cloth: drywall dust is fine, so protect your lungs and eyes.
Match the Repair Method to the Hole Size
The biggest mistake beginners make is using the wrong technique for the damage. Measure the hole first, then use the table below to pick the right fix.
| Hole size | Best repair method | Approximate time |
|---|---|---|
| Nail or screw hole (under ½ inch) | Lightweight spackle | 15 minutes plus drying |
| Small hole (½ to 2 inches) | Self-adhesive mesh patch and joint compound | 30 to 45 minutes plus drying |
| Medium hole (2 to 6 inches) | Drywall patch kit or California patch | 1 to 2 hours plus drying |
| Large hole (over 6 inches) | Cut-out with new drywall piece and wood backing | 2 to 3 hours plus drying |
How to Patch a Hole in Drywall: 7 Easy Steps
These steps work for most medium holes. For nail holes, skip straight to Step 3, and for large holes, follow Step 2 carefully because the backing strips make the whole repair stable.
Step 1: Prepare the Area and Stay Safe
Move furniture away, lay down a drop cloth and put on your mask and glasses. If your home was built before 1978, the paint may contain lead, so read the EPA’s guidance on lead-safe repairs before sanding or cutting into the wall. Then remove loose paper, crumbled gypsum and any protruding screws with a utility knife.
Step 2: Clean Up and Square the Opening
Trim the edges so they are firm and tidy. For a large hole, use a drywall saw to cut a neat square or rectangle around the damage. Next, screw 1×3 wood strips behind the opening so they overlap the edges by a couple of inches. These strips give the new piece something solid to attach to.
Step 3: Fill or Patch the Hole
For small nail holes, press spackle in with a putty knife and scrape it flush. For holes up to 6 inches, center a self-adhesive mesh patch over the opening and press it firmly against the wall. For a large opening, cut a drywall piece that fits exactly, then screw it to the wood strips so the surface sits level with the wall.
Step 4: Apply the First Coat of Joint Compound
Spread a thin, even layer of joint compound over the patch with your 4-inch knife, pressing it into the mesh. Extend the compound a few inches beyond the edge of the patch, and don’t worry if it looks rough. A thin first coat dries faster and cracks less than one thick layer.
Step 5: Add a Second and Third Coat
Let the first coat dry fully, which usually takes 4 to 24 hours depending on humidity and thickness. Then apply a wider second coat with the 10-inch knife, feathering the edges so they blend into the wall. Repeat once more if you can still see the mesh or any ridges. Each coat should be slightly wider than the one before it.
Step 6: Sand the Patch Smooth
Once the final coat is completely dry, sand lightly with a fine-grit sponge using circular motions. Check the surface with your fingertips and a flashlight held at an angle, since shadows reveal bumps that you can’t see head-on. Wipe away the dust with a damp cloth before moving on.
Step 7: Prime and Paint
Skipping primer is the number one reason repaired spots show through paint. Roll or brush on a coat of drywall primer, let it dry, and then paint the wall with your matching color. For the best blend, paint the entire wall from corner to corner rather than just the patch. If you need a refresher on technique, our guide on how to paint a room like a pro walks through every step for a flawless finish.
Common Mistakes When You Patch a Hole in Drywall
- Using one thick coat: thick compound shrinks and cracks, so build up thin layers instead.
- Skipping the sanding: even a slight ridge becomes obvious under paint and side lighting.
- Not priming: joint compound absorbs paint differently from the wall, leaving a dull patch visible.
- Rushing the drying time: wet compound under paint can bubble or crack weeks later.
- Ignoring the cause: if moisture created the hole, fix the leak first or the damage will return.
How Much Does It Cost to Patch a Hole in Drywall?
A DIY repair usually costs between $10 and $25 for spackle, a patch kit, sandpaper and primer. A handyman or contractor typically charges much more for the same job, mainly for labor and the minimum visit fee. Since most holes are simple to fix, learning this skill saves money every time something bumps into a wall. It also protects your property’s appearance, and tidy walls are one of the easiest ways to boost value, as we explain in our article on how to increase your home’s value.
When to Call a Professional
Most holes are safe to repair yourself, but a few situations need an expert. Call a professional if the drywall is soft, moldy or stained, because that points to hidden moisture. Check nearby plumbing first, and consider learning how to fix a leaky faucet if a slow drip is the culprit. In wet rooms, you should also review our steps to waterproof a bathroom so the new patch doesn’t fail. Finally, hire help when a large section of ceiling is damaged or when the hole exposes electrical wiring.
Frequently Asked Questions
Can I patch a hole in drywall without a kit?
Yes. For small holes, spackle and a putty knife are enough. For larger holes, you can cut a scrap piece of drywall and attach it to wood strips, which costs even less than a store-bought kit.
How long does it take to patch a hole in drywall?
The hands-on work takes one to three hours, but drying time between coats stretches the project across a day or two. Warm, dry weather speeds things up.
Why does my drywall patch show through the paint?
Usually the patch wasn’t primed, wasn’t sanded smooth, or wasn’t feathered wide enough. Sand the area again, apply primer and repaint the whole wall for a uniform look.
What is the best compound to use?
Lightweight spackle works well for tiny holes, while all-purpose joint compound suits bigger patches. Brands such as USG publish product guides that explain which compound fits each job.
Final Thoughts
Now you know how to patch a hole in drywall like a pro: choose the right method for the hole size, build up thin coats, sand carefully, then prime and paint. With a little patience, the repair will blend in completely, and you’ll feel confident tackling the next scuff or dent. Looking for more projects to try this weekend? Browse our complete home improvement tips guide for ideas that fit any budget.