
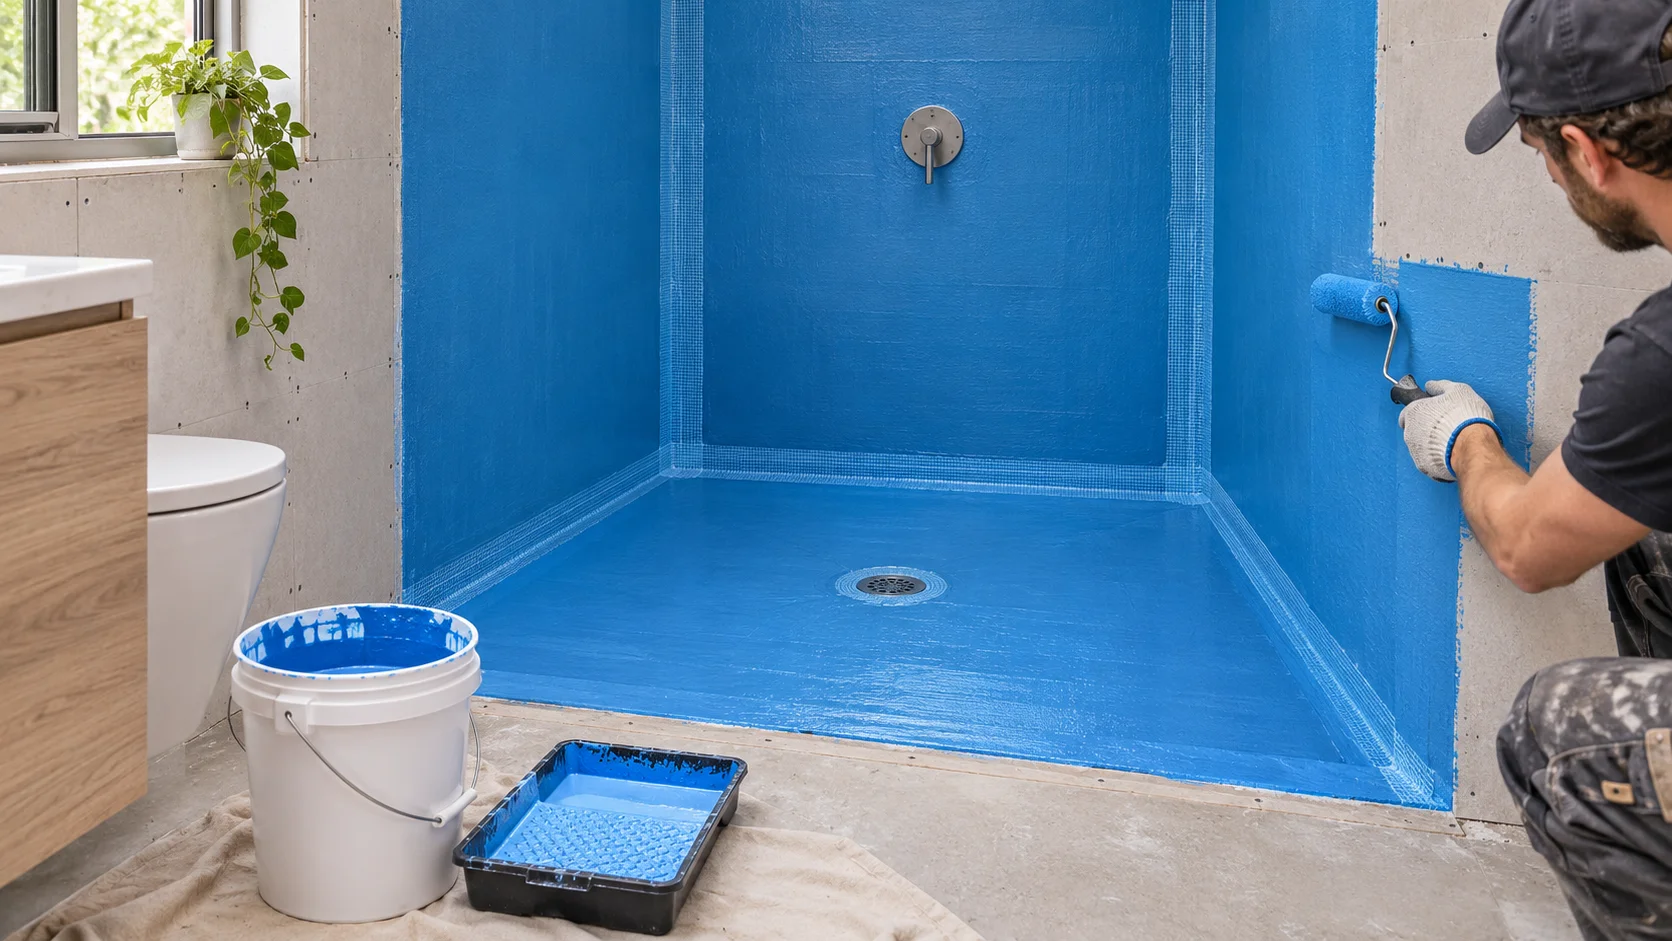
Learning how to waterproof a bathroom is one of the smartest investments you can make in your home. Bathrooms deal with steam, splashes and standing water every single day, and without a proper moisture barrier that water slowly finds its way into walls, floors and ceilings. The result is mould, peeling paint, rotting timber and repair bills that cost far more than prevention would have. This guide walks you through the whole process, from choosing materials to final testing.
Why You Should Waterproof a Bathroom
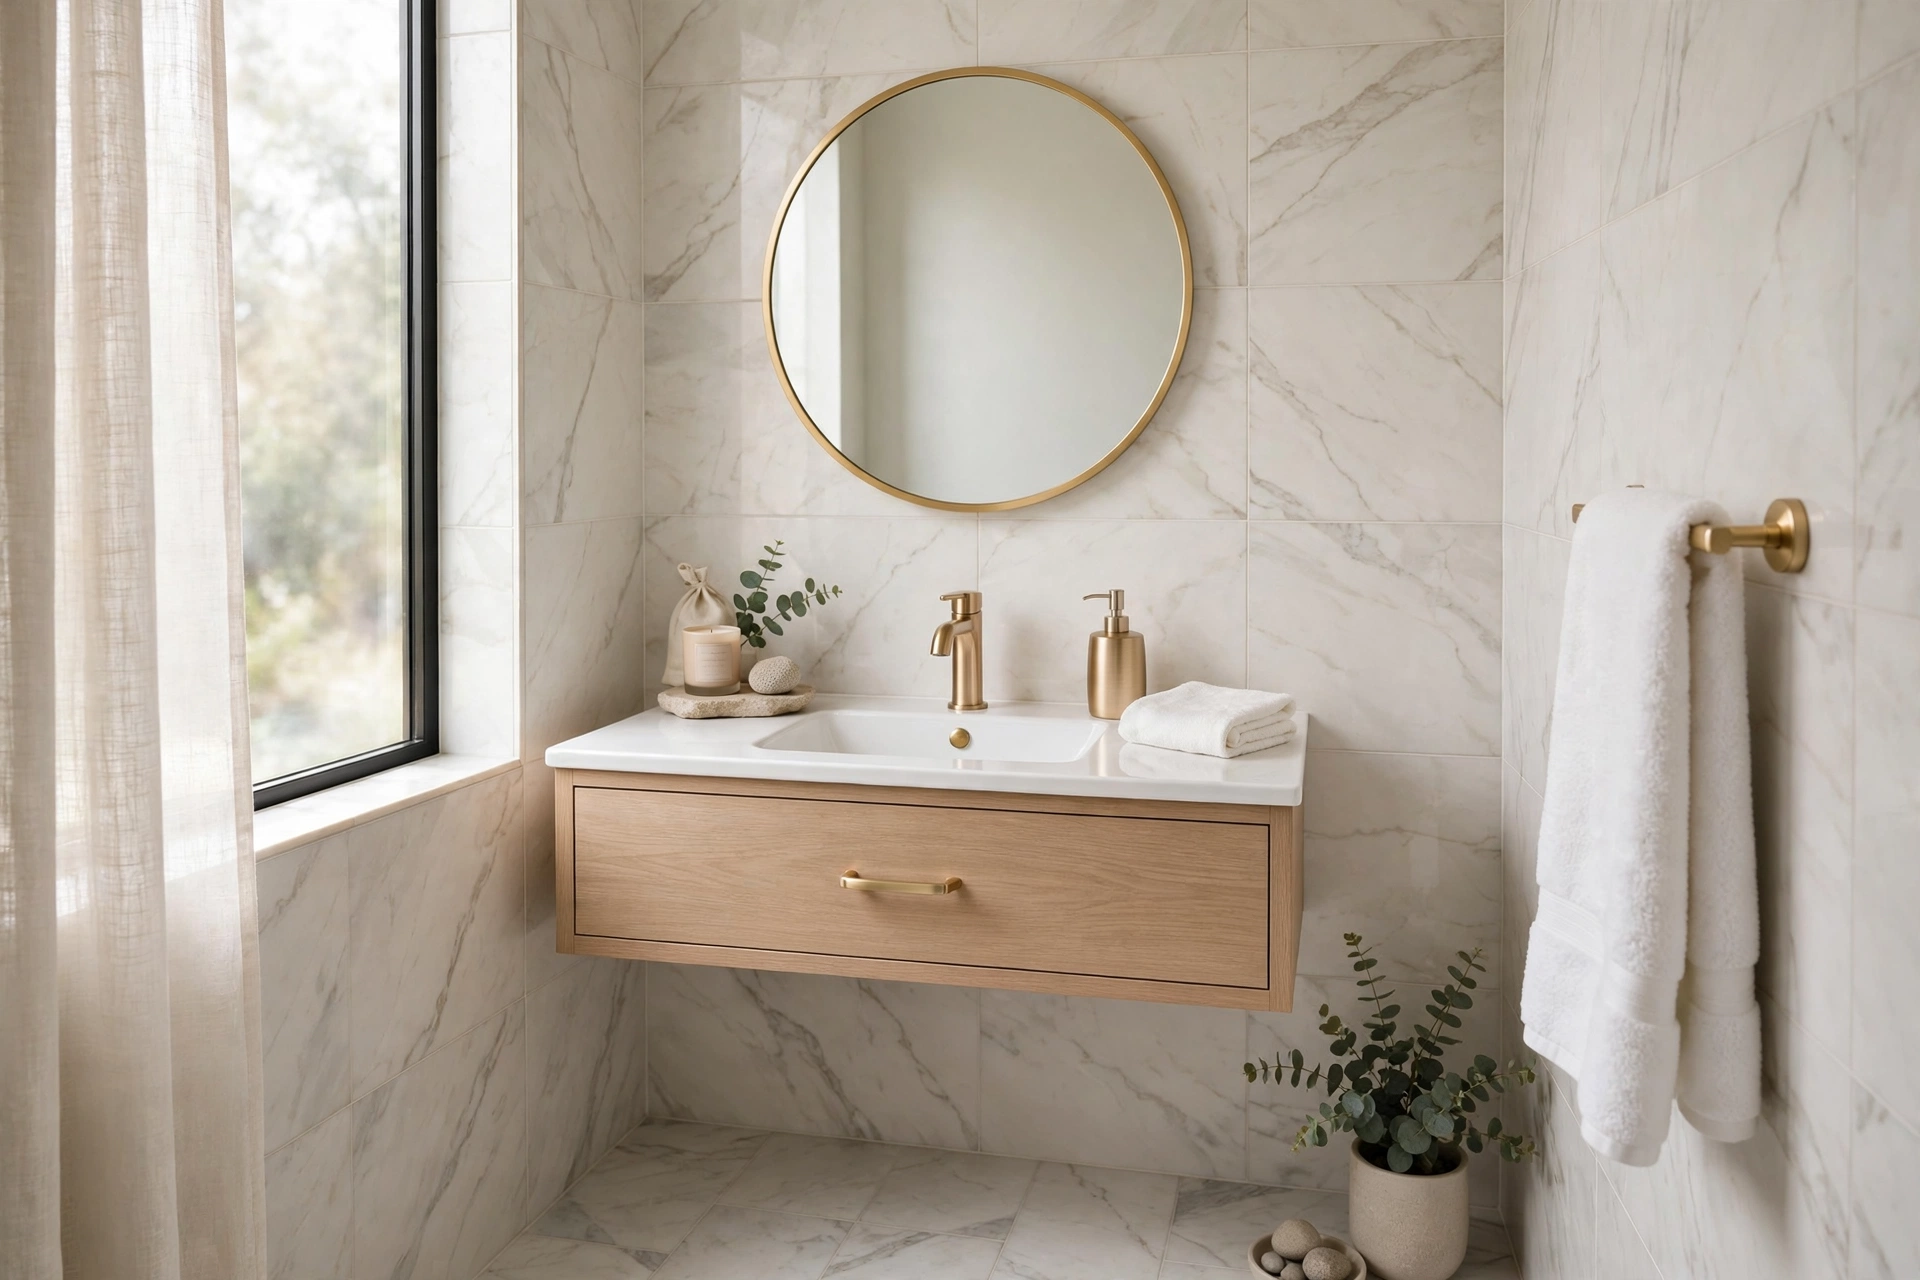
Tiles and grout look solid, but they are not waterproof on their own. Grout is porous and tile joints crack over time. A dedicated waterproofing membrane sits beneath the tiles and stops moisture from reaching the structure. Here is what happens when you waterproof a bathroom properly, as explained by the basics of waterproofing:
- Prevent mould and mildew growth behind walls
- Protect floors, ceilings and the rooms below
- Extend the life of your tiles and fixtures
- Keep indoor air healthier and fresher
- Protect your property value
Materials You Need to Waterproof a Bathroom
- Liquid waterproofing membrane (polyurethane or cementitious)
- Waterproofing tape or fabric for corners and joints
- Primer suitable for your surface
- Paint roller, brush and mixing bucket
- Sealant for pipes and drains
- Cleaning supplies, sandpaper and a dust mask
Choosing the Right Waterproofing Membrane
Liquid Membranes
Liquid membranes are brushed or rolled on and form a seamless, flexible layer. They are the most popular choice for DIY projects because they handle awkward corners and uneven surfaces well.
Cementitious Coatings
These are mixed with water and applied in two coats. They are durable and affordable, and work well on concrete and masonry floors and walls.
Sheet Membranes
Sheet systems are rolled out and bonded in place. They give consistent thickness but need careful cutting and sealing at every joint, so they suit experienced installers.
Step-by-Step: How to Waterproof a Bathroom
Step 1: Prepare the Surface
Remove old tiles, loose paint and dust. The surface must be clean, dry, level and free of cracks. Repair any holes with a suitable patching compound and let it cure fully before moving on.
Step 2: Seal Joints, Corners and Pipe Penetrations
When you waterproof a bathroom, the joints matter most. Apply waterproofing tape or fabric to wall-to-floor corners, wall-to-wall corners and around drains and pipes. These are the weakest points in any bathroom and they must be reinforced first.
Step 3: Apply Primer
Prime the surface according to the manufacturer’s instructions. Primer improves adhesion and helps the membrane bond evenly.
Step 4: Apply the First Coat
Brush the membrane into corners first, then roll it across the floor and walls. In the shower area, take it at least 1.8 metres up the wall, and in the rest of the bathroom about 15 to 20 cm above the floor.
Step 5: Apply the Second Coat
Once the first coat is dry, apply a second coat in the opposite direction. Crossing the direction of application closes any tiny gaps and builds an even film.
Step 6: Cure and Flood Test
Allow the membrane to cure for the time stated on the product, usually 24 to 48 hours. Then block the drain and fill the floor with 2 to 3 cm of water for 24 hours. If the level stays the same and nothing leaks below, you are ready to tile.
Common Mistakes to Avoid
- Skipping the corners and joints
- Applying coats too thickly or too thinly
- Tiling before the membrane has fully cured
- Ignoring the drain flange and pipe seals
- Not testing the area before tiling
How Much Does It Cost to Waterproof a Bathroom?
The cost to waterproof a bathroom yourself is low compared with repairs after a leak. For a DIY project, materials usually cost a fraction of professional installation. Professional work costs more but often includes a warranty. If your bathroom is large, sits above a living space or already shows water damage, hiring a licensed waterproofing contractor is worth it.
Maintenance Tips
Re-seal silicone joints every few years, run an exhaust fan during and after showers, and fix dripping taps quickly. A small amount of regular care keeps your waterproofing working for decades.
If you are planning a wider upgrade, see our complete home improvement guide for more ideas before you start.
Final Thoughts
Knowing how to waterproof a bathroom properly, and why it matters, saves money, protects your home and gives you peace of mind. Take your time with preparation, reinforce every joint, and always test before you tile. Do it once, do it right, and your bathroom will stay dry for years.
Frequently Asked Questions
How long does bathroom waterproofing last?
When installed correctly, a quality membrane can last 15 to 25 years or longer.
Can I waterproof over existing tiles?
It is not recommended. Remove old tiles so the membrane can bond directly to a clean substrate.
Do I need a professional to waterproof a bathroom?
Small, simple bathrooms can be a confident DIY job. For large or damaged bathrooms, hire a licensed professional.
Is waterproofing needed in the whole bathroom?
Wet areas such as the shower and floor must always be waterproofed. Walls outside the shower need protection up to a lower height.




4 Responses